Easy Labeling Guide (1) - Loading Images and Labels
Easy Labeling Project Page: https://mouseball54.github.io/easy_labeling/
Hello! Starting with this post, I will explain in detail how to use Easy Labeling, a dedicated tool for YOLO data labeling.
For this first session, we will learn how to load image and label files and how to use class description files.
1. Loading Images
1.1 Recommended Environment
We recommend using the following environment:
Operating System: Windows 10 or higher, macOS 10.14 or higher
Browser: Chrome 93+, Firefox 91+, Edge 93+
Screen Resolution: 1280×720 or higher
1.2 Accessing the Website
Access the Easy Labeling project page (https://mouseball54.github.io/easy_labeling/) in your web browser.
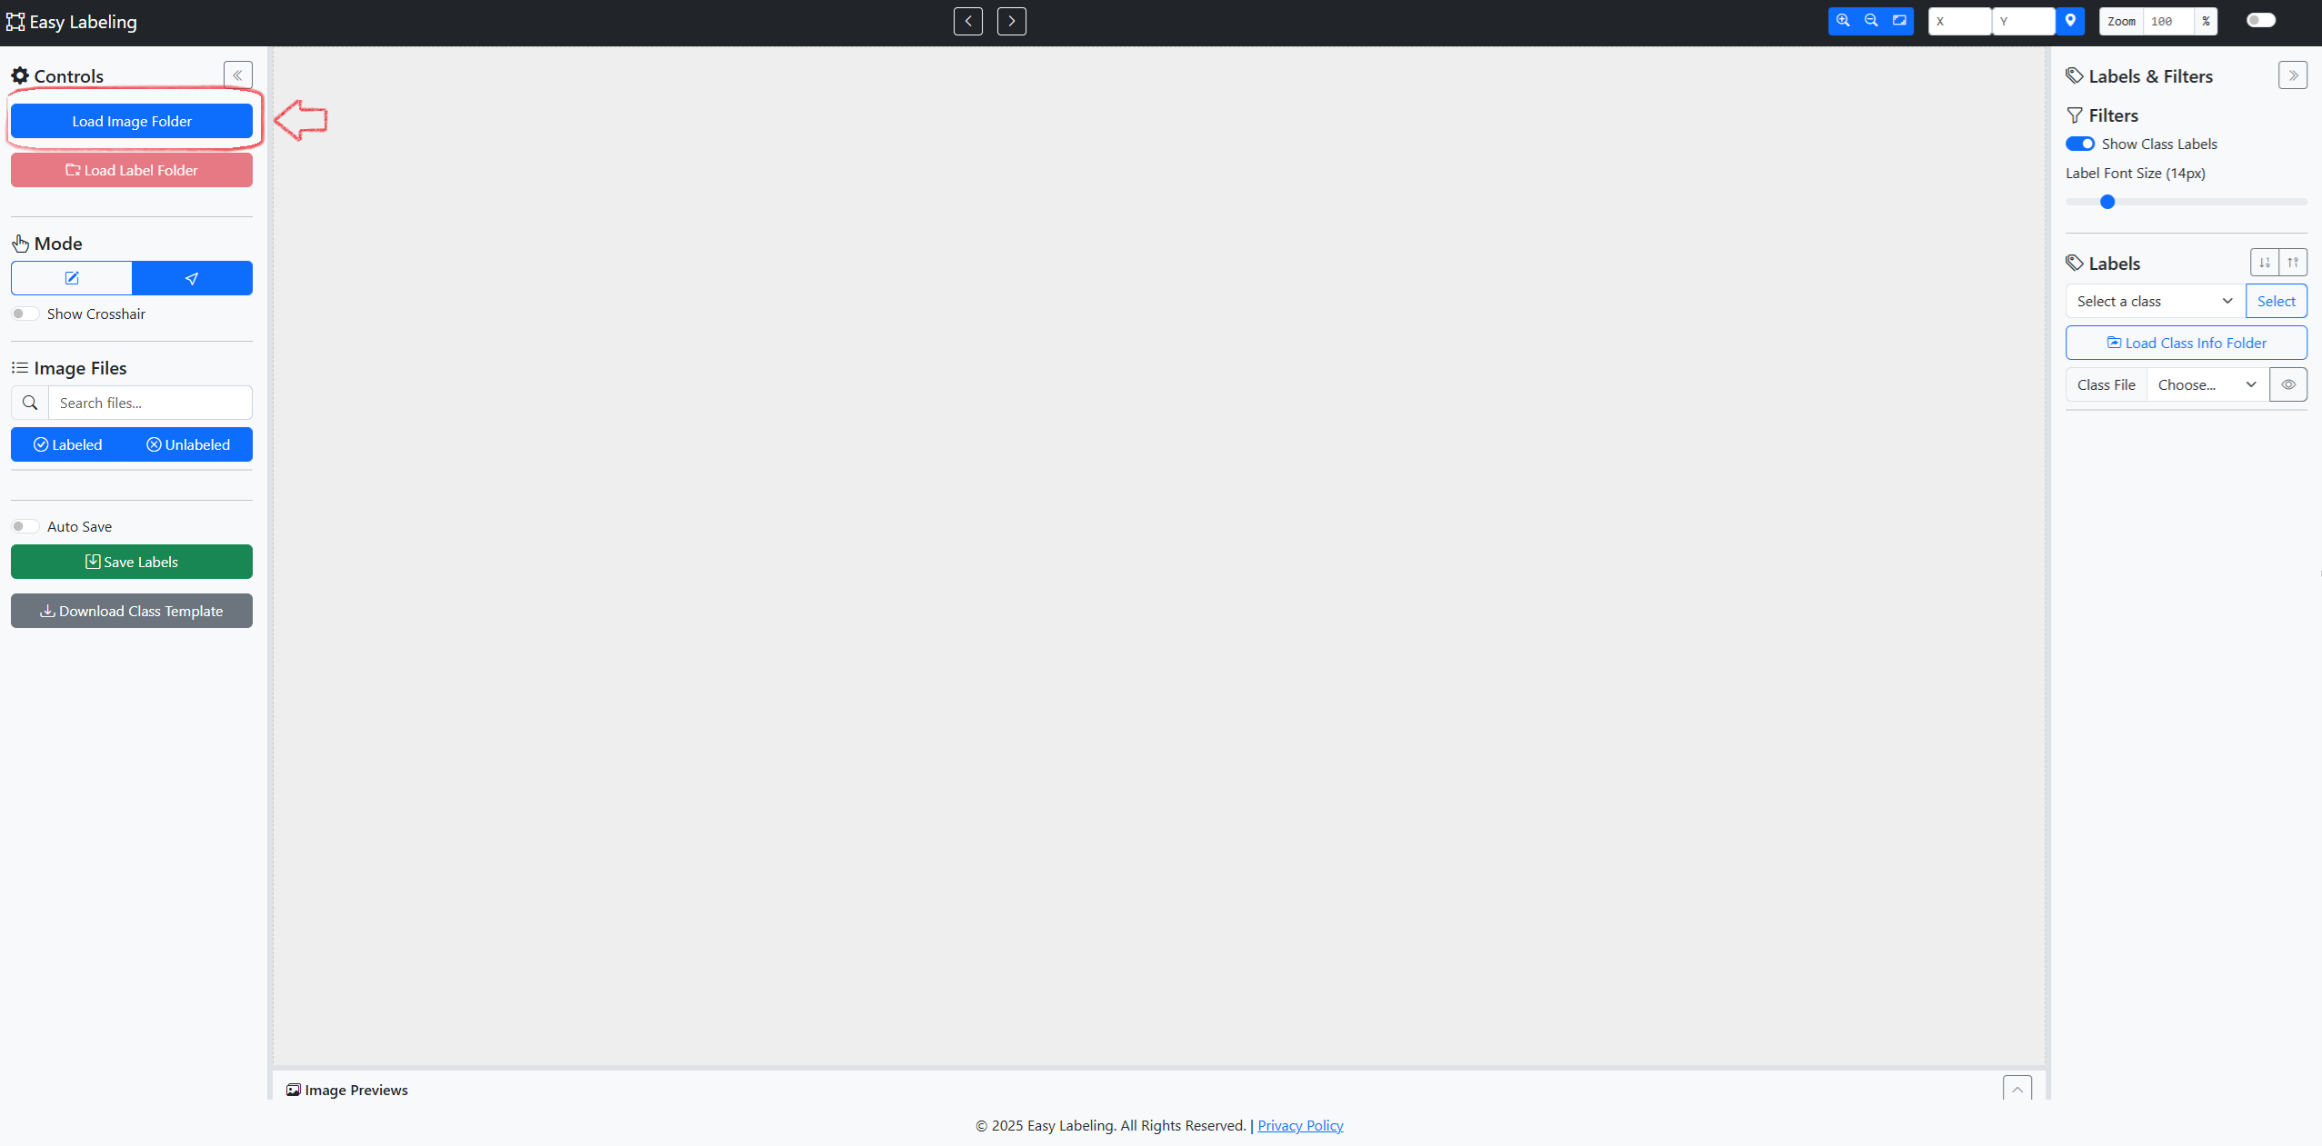
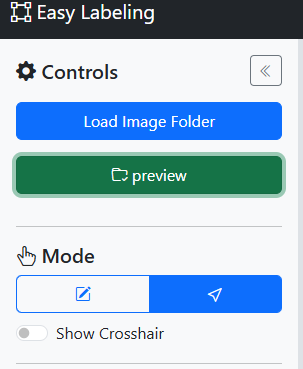
Load Image Folder button in the top left corner.1.3 Selecting the Image Folder
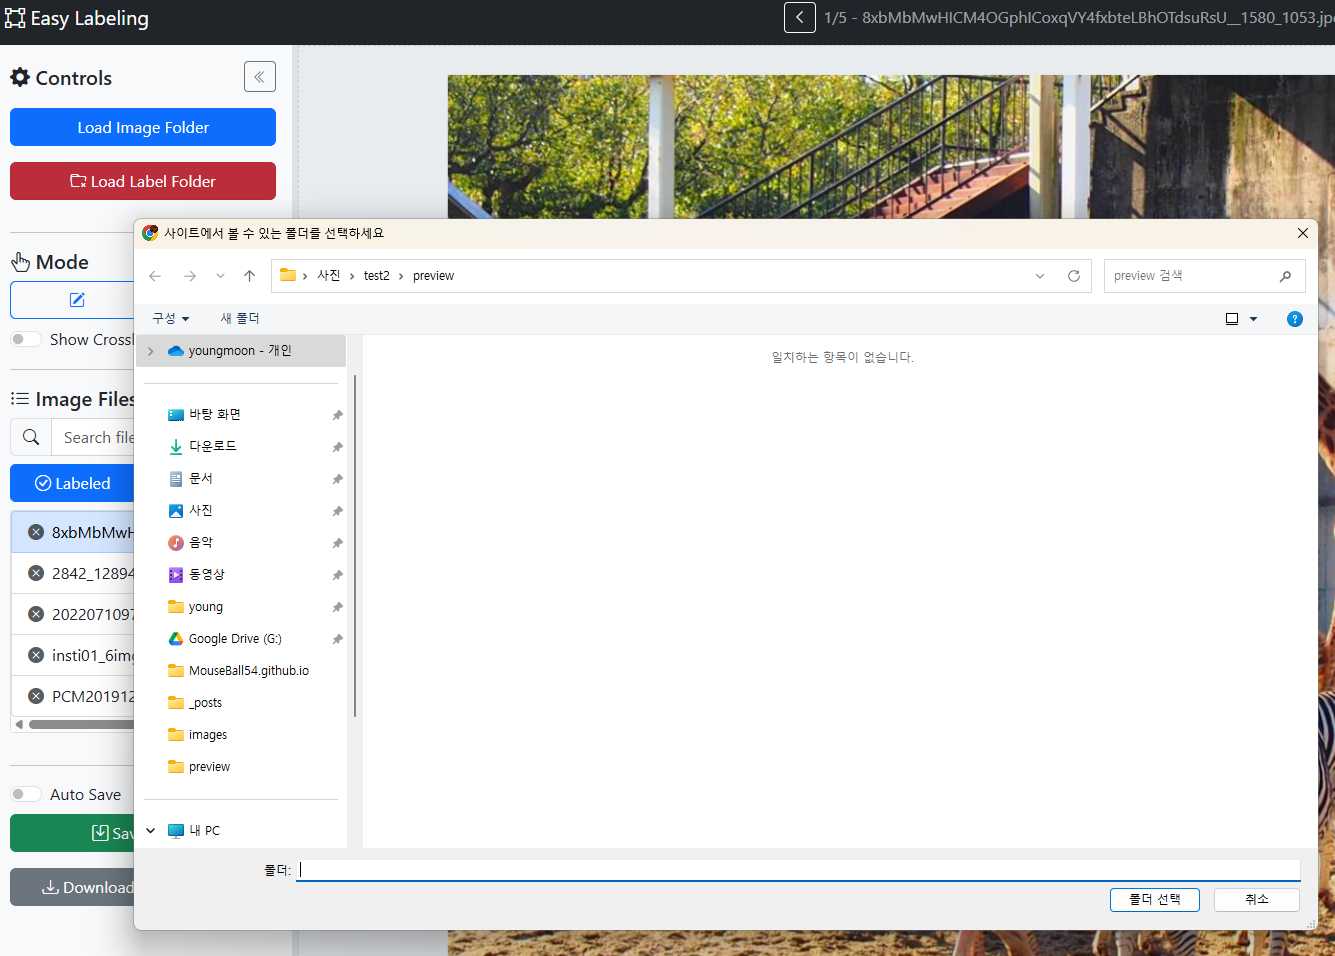
- Click the
Load Image Folderbutton to select the folder where your images for labeling are stored.
(Note) Easy Labeling is a web program that runs directly in your browser without a server. Therefore, you can use it safely without worrying about your images or label data being transmitted or leaked externally.
1.4 Creating the Label Folder
- If there is no
labelfolder in the selected image folder, a notification window will appear asking if you want to create one. - Click “OK” to automatically create the
labelfolder, where your label data will be stored in the future.
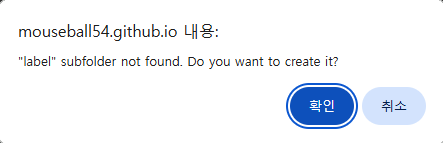
label folder creation confirmation window.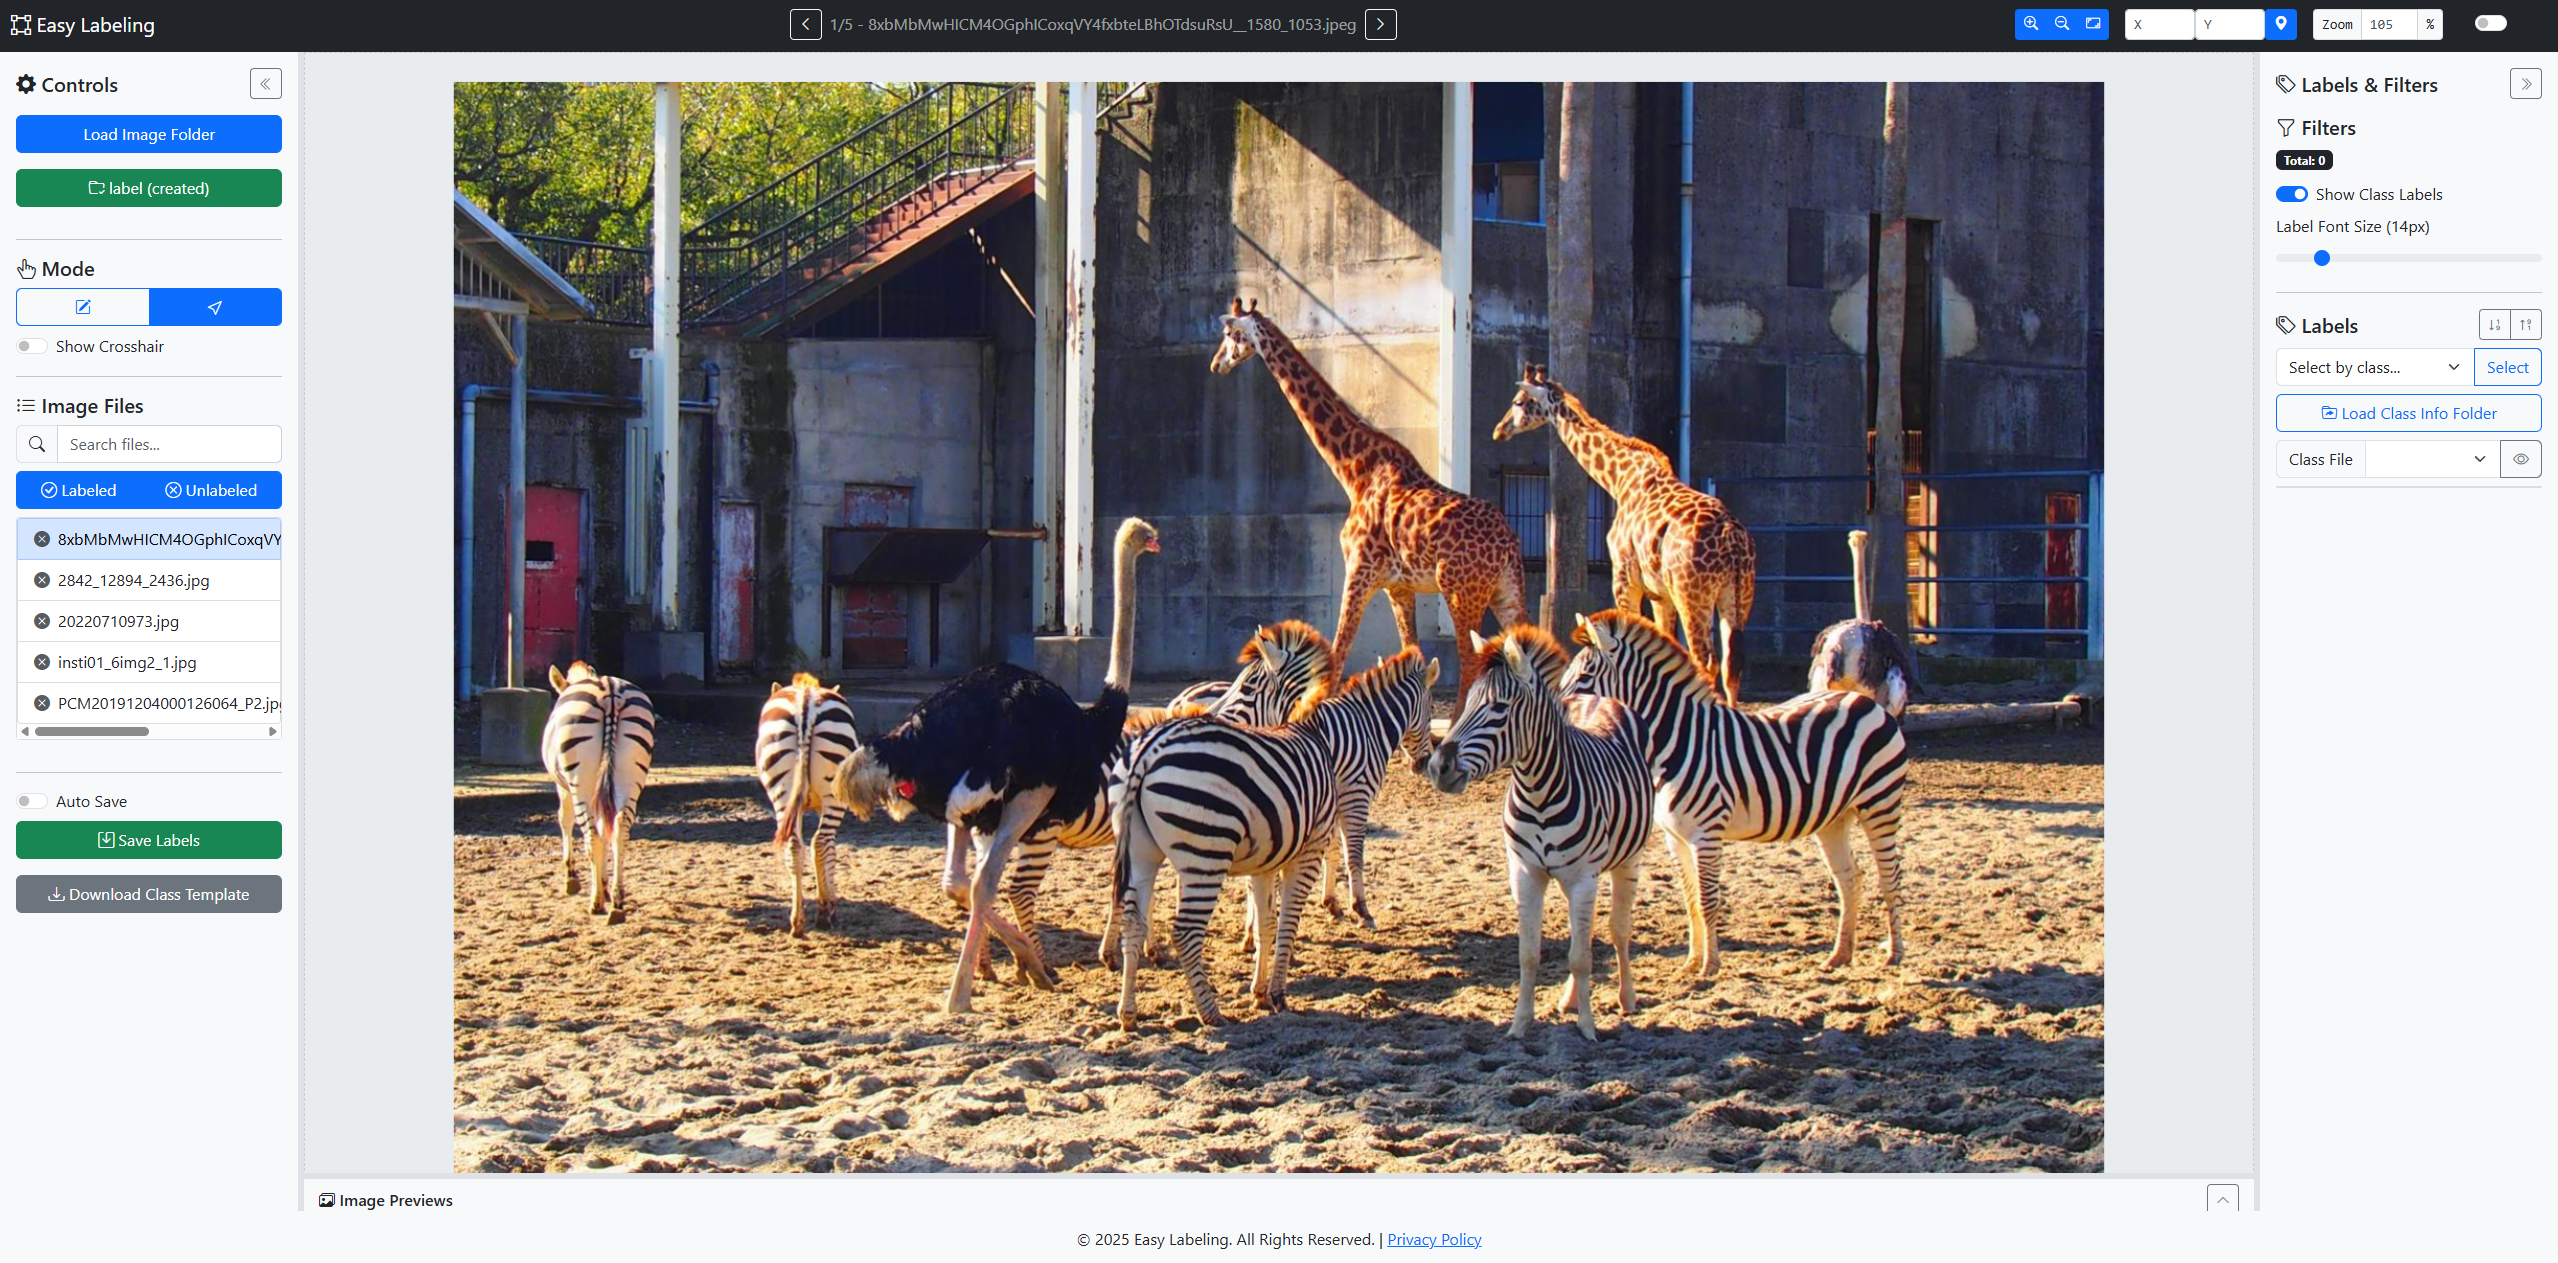
label (created).2. How to Switch Images
Easy Labeling provides various methods for quick navigation. Choose the method that is most convenient for you to increase your efficiency.
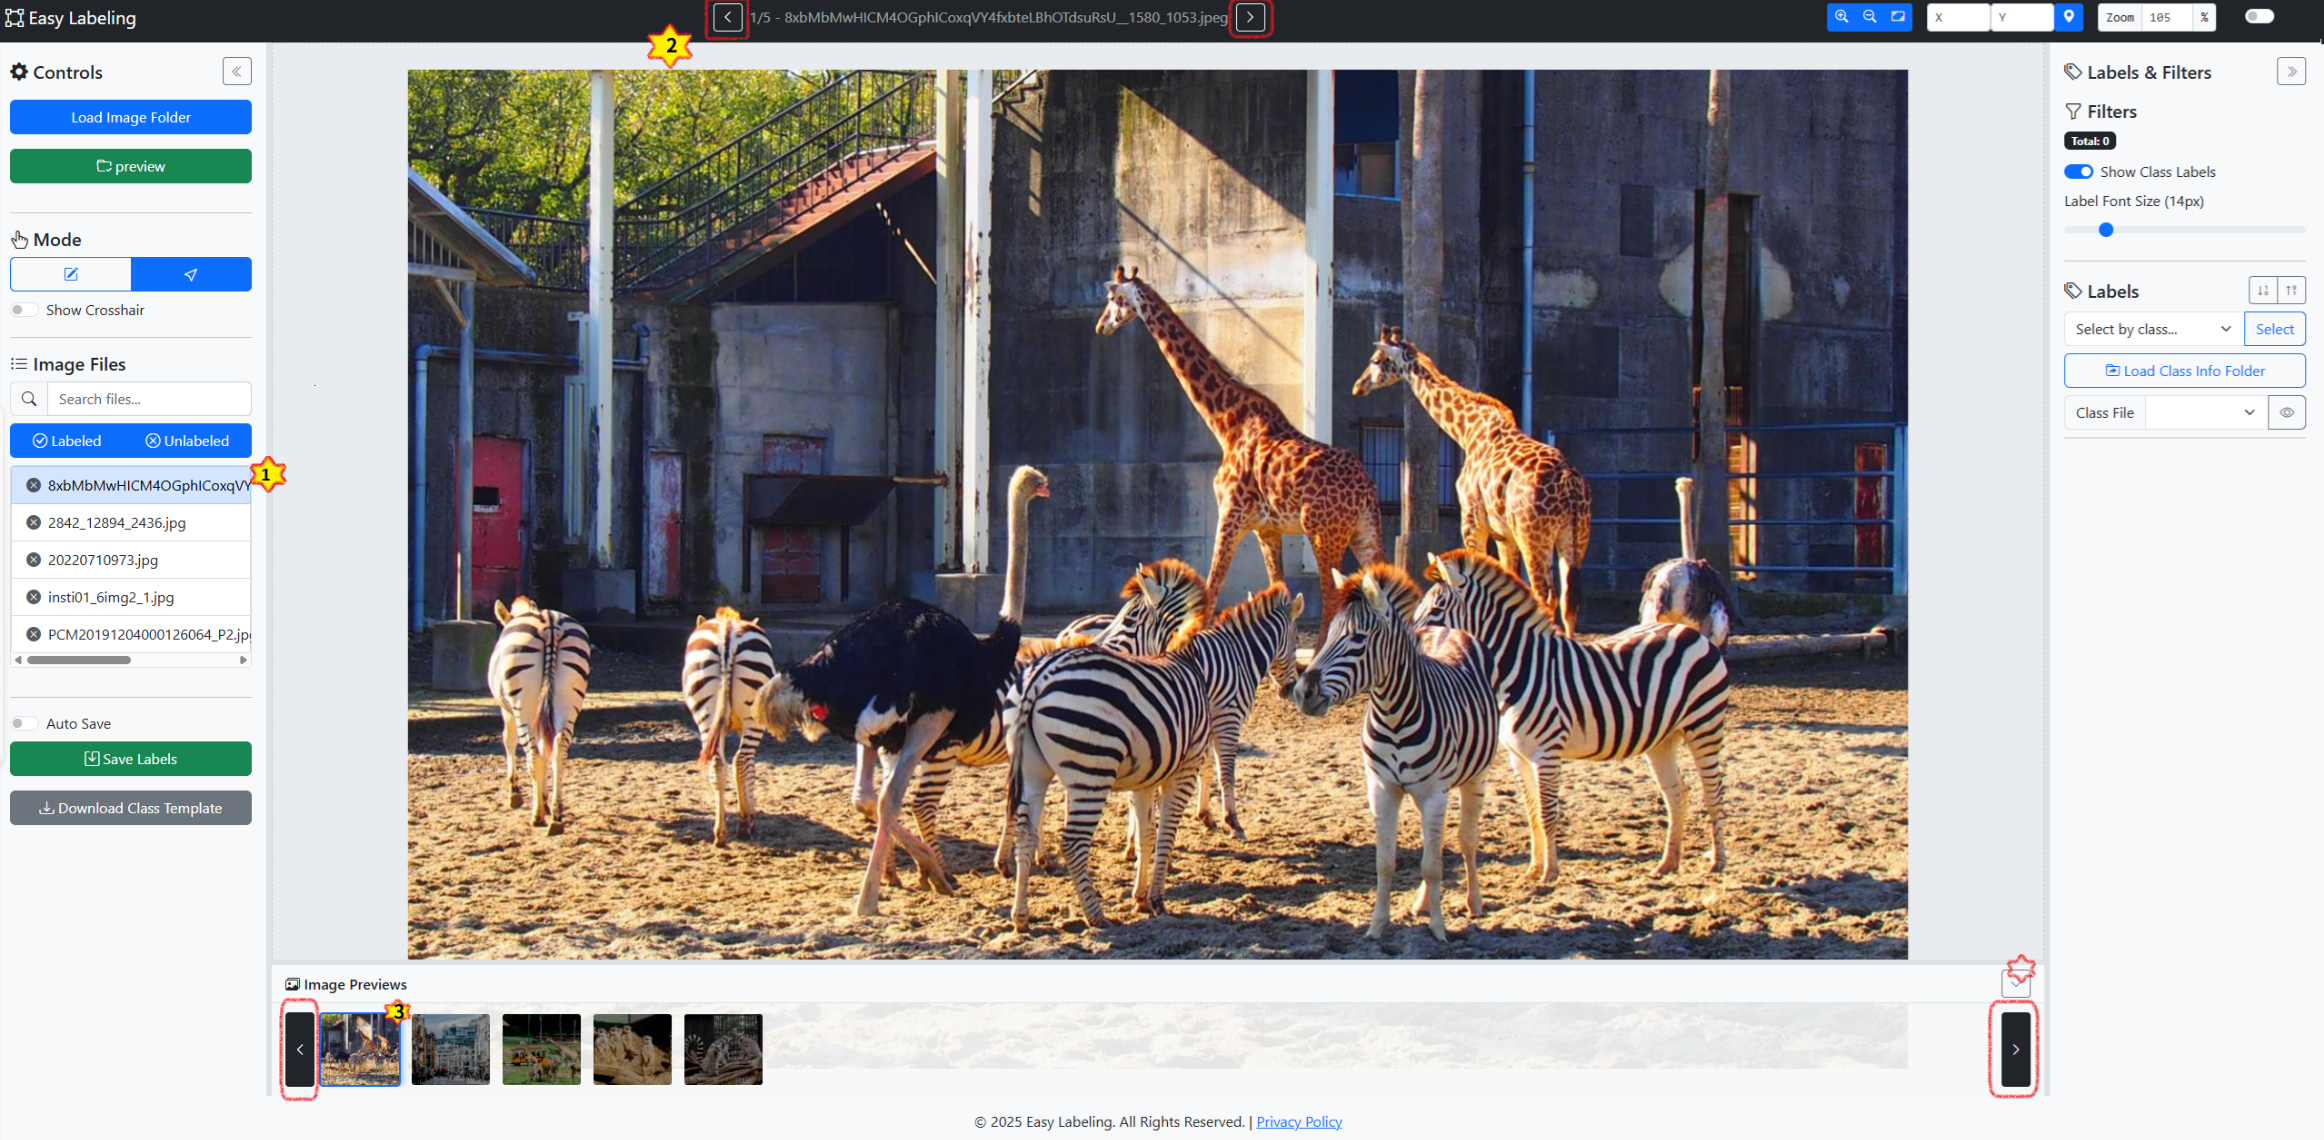
- Method 1: Click on the desired image directly from the
Image Fileslist on the left. - Method 2: Click the arrow icons (
◀,▶) at the top. - Method 3: Click the thumbnails or arrows in the
Image Previewswindow. - Method 4: Use the keyboard shortcuts
A(previous) andD(next).
3. Loading and Managing Label Data
3.1 Loading the Label Folder
Refer to the following methods to load existing label data or use a folder from a different location.
- If no
labelfolder exists, it is created automatically (label (created)). - If the folder is a subfolder of the image folder, it is loaded automatically (
label (auto)). - Manual selection: Click the
Load Label Folderbutton.
Search files...: Search by a part of the file name.Labeled/Unlabeledfilter: Classify files based on whether they have labels.
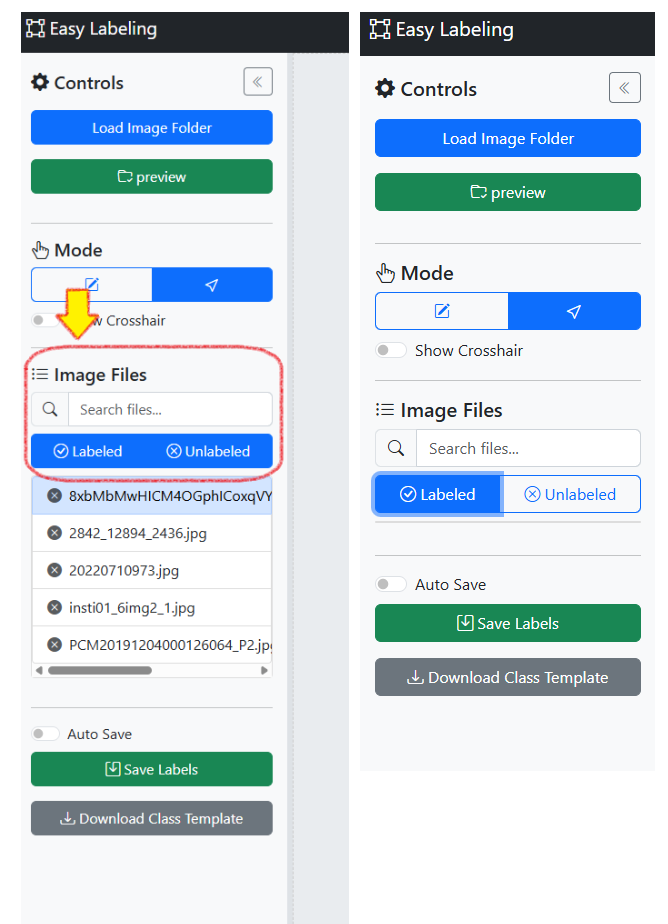
Labeled filter applied.3.2 Label Data Management Features
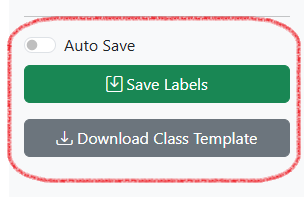
Auto Save, Save Labels, Download Class Template).Auto Save: Automatically saves when switching images.Save Labels(Ctrl + S): Manual save.Download Class Template: Downloads thecustom-classes.yamltemplate.
4. Using Class Description Files
The downloaded custom-classes.yaml file is provided in the following format. Modify the class IDs and names as desired.
# This is a YAML file for class definitions.
# Each line should be in the format: id: name
# The ID must be an integer.

0: person
1: car
2: bicycle
3: dog
10: traffic light
By modifying this file to create your own class list, you can work more intuitively as the specified names (person, car, etc.) will be displayed instead of class numbers during labeling. The feature to edit this file directly within Easy Labeling will be covered in detail in a future guide.
In this post, we have covered the most basic features of Easy Labeling: loading image and label files, and using class files.
In the next guide, we will provide a detailed explanation of how to perform the actual labeling work, so please look forward to it!
If you have any questions, feel free to ask in the comments.
Thank you.
5. FAQ and Tips
FAQ
Q1. The image folder does not load. A. Check if you are using a supported extension (.jpg, .png, .bmp, tiff, etc.) and verify that you have allowed folder access permissions in your browser.
Q2. The label folder creation window does not appear.
A. Disable the browser’s pop-up blocker and then run Load Image Folder again.
Tips
- It is recommended to save manually with
Ctrl + Sbefore labeling. - Manage your class templates with a version control system like Git to maintain consistency when collaborating.

Leave a comment