Quick Answer
When Gradle build failed appears, do not start by deleting random files.
Find the first failing task, rerun with --stacktrace, check the Gradle wrapper, confirm the Java version, isolate dependency resolution, and then decide whether the failure is compile, test, plugin, or environment related.
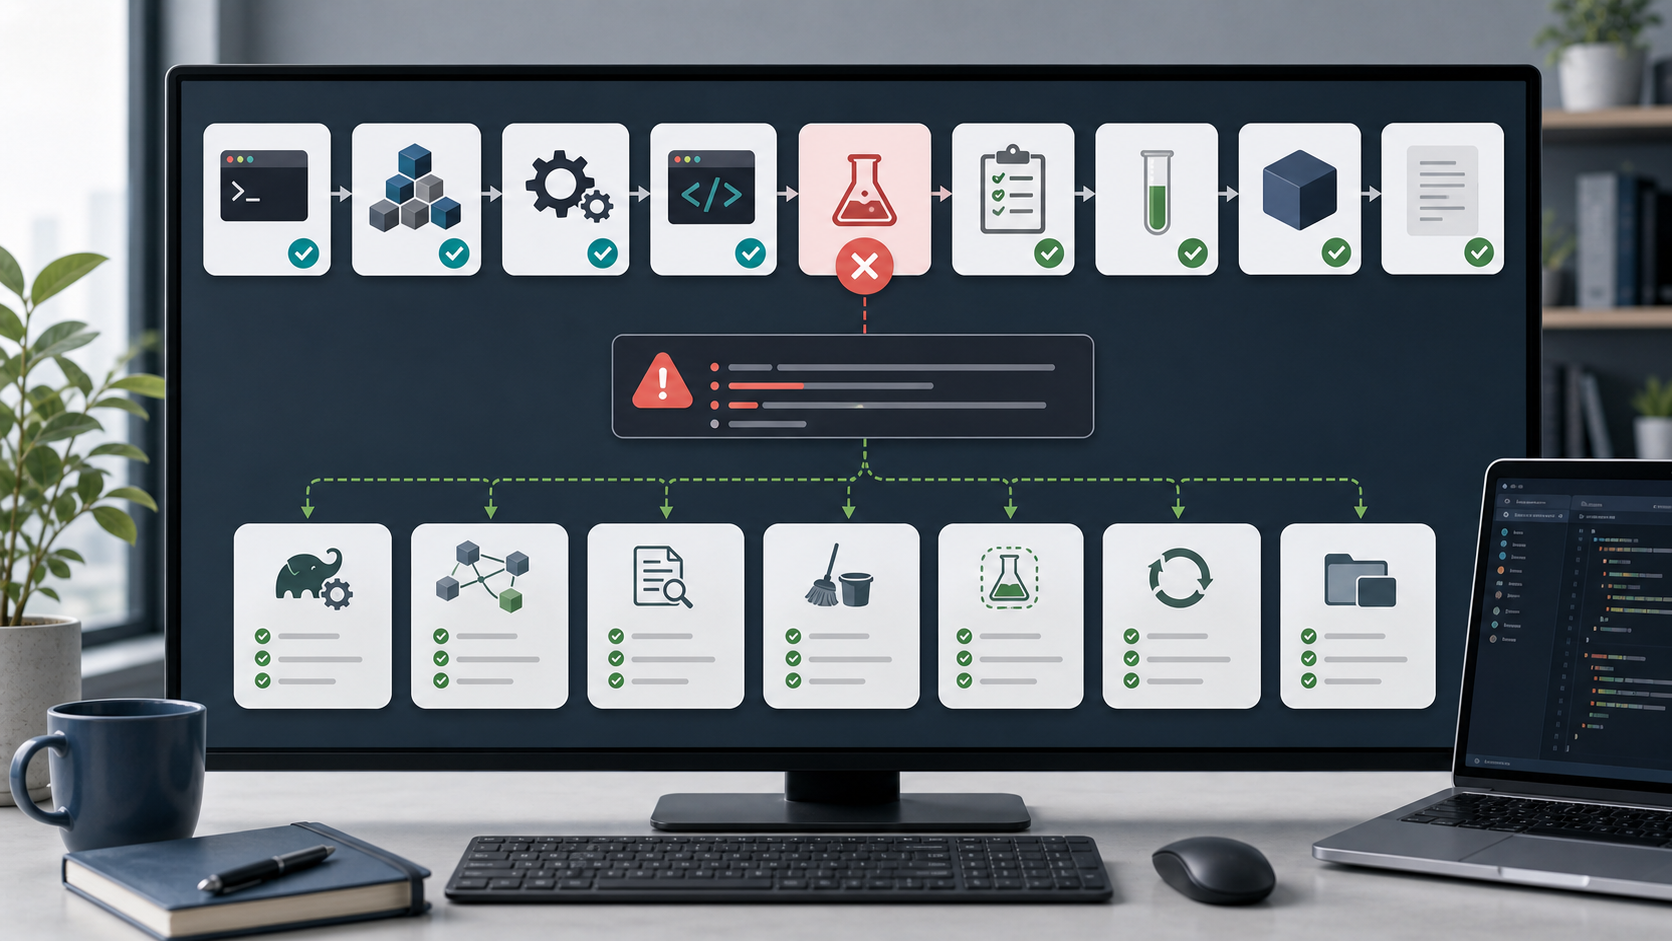
The image shows a build pipeline. One failed task can make the whole build fail. Your job is to identify that task and debug the cause, not every later symptom.
1. Read the First Failing Task
Run:
./gradlew build
On Windows:
.\gradlew.bat build
Look for the first line like:
> Task :compileJava FAILED
> Task :test FAILED
> Task :bootJar FAILED
The first failure is the most useful. Later failures may be consequences.
2. Rerun with Stacktrace
Use:
./gradlew build --stacktrace
For dependency or plugin problems, also try:
./gradlew build --info
Use --debug only when needed because it can produce very large logs.
The stacktrace should tell you whether the failure is a Java compile error, test assertion, missing dependency, plugin version issue, configuration problem, or permission problem.
3. Use the Gradle Wrapper
Prefer the project wrapper:
./gradlew --version
instead of a globally installed gradle.
The wrapper pins the Gradle version expected by the project.
If the wrapper is missing, that is a project setup issue. In a shared repository, commit these files:
gradlew
gradlew.bat
gradle/wrapper/gradle-wrapper.jar
gradle/wrapper/gradle-wrapper.properties
Do not quietly switch Gradle versions without checking compatibility with plugins and the Java version.
4. Check Java Version
Many Gradle failures are actually Java version mismatches.
Check:
java -version
./gradlew --version
Look at:
- JVM used by Gradle
- Java version required by the project
- Toolchain configuration
- Spring Boot or plugin compatibility
If the project uses Gradle Java toolchains, let Gradle select the intended version.
If it does not, set JAVA_HOME to the expected JDK.
5. Isolate Dependency Resolution
If the error mentions unresolved dependencies, repositories, or metadata, run:
./gradlew dependencies
For a specific configuration:
./gradlew dependencies --configuration runtimeClasspath
Common causes:
- Wrong group, artifact, or version
- Missing repository declaration
- Private repository credentials missing
- Corporate proxy blocking access
- Plugin repository missing
- Offline mode enabled
If you recently changed dependencies, revert or isolate that change first.
6. Separate Compile Failures from Test Failures
If compile fails:
./gradlew compileJava
or for Kotlin:
./gradlew compileKotlin
If tests fail:
./gradlew test
Then inspect the test report, usually under:
build/reports/tests/test/index.html
Do not skip tests as the default fix.
Use -x test only to confirm that the rest of the build works:
./gradlew build -x test
Then fix the failing tests.
7. Clean Only When It Helps
Try:
./gradlew clean build
This removes project build outputs. It does not fix dependency mistakes, incompatible plugins, or bad source code.
If the cache looks corrupted, you can refresh dependencies:
./gradlew build --refresh-dependencies
Avoid deleting the entire Gradle cache as a first response. It is slow and often hides the real cause.
Common Mistakes
The first mistake is reading the last error instead of the first failing task. The final summary is often too generic.
The second mistake is using global Gradle instead of ./gradlew.
That can create version differences between developers and CI.
The third mistake is skipping tests permanently.
If -x test makes the build pass, the build is not fixed.
The test failure is identified.
The fourth mistake is changing multiple versions at once. Upgrade Gradle, plugins, Java, and dependencies separately so you know which change caused the result.
Professional Depth Check
For Gradle Build Failed: A Practical Debugging Checklist for Java Projects, the practical standard is not whether the reader can repeat one instruction once. Treat the topic as a reproducible debugging procedure: verify JDK version, build tool configuration, classpath or module path, and runtime stack trace before drawing a conclusion. The result should be written as a small decision record, because future readers need to know which fact was observed, which assumption was used, and which condition would change the answer.
Evidence That Makes the Guidance Reliable
Use objective evidence before changing a workflow. Good evidence includes java -version, javac -version, Maven or Gradle output, and the smallest failing class. If two pieces of evidence conflict, keep the conflict visible instead of smoothing it over. For example, a successful quick fix is still weak evidence if the same input, account, dependency, or device state has not been tested again. A durable article should help the reader distinguish a confirmed fix from a plausible fix.
Review Table
| Review Item | What To Confirm | Why It Matters |
|---|---|---|
| Scope | The exact case covered by this article | Prevents over-applying the advice |
| Baseline | The state before any change | Makes rollback and comparison possible |
| Change | The smallest action taken | Reduces hidden side effects |
| Result | The observed output after the change | Separates evidence from expectation |
| Recheck | When to revisit the conclusion | Keeps the post accurate over time |
Related Reading
- Spring Boot Port 8080 Already in Use
- Java Unsupported Class File Major Version
- Gradle: Troubleshooting builds
- Gradle: The Gradle Wrapper
Final Checklist
[ ] Find the first failing task.
[ ] Rerun with `--stacktrace`.
[ ] Use `./gradlew`, not random global Gradle.
[ ] Confirm Java version and toolchain.
[ ] Check dependency resolution separately.
[ ] Separate compile failures from test failures.
[ ] Use clean or refresh only after identifying the likely cause.
Gradle failures become manageable when you treat the build as a pipeline. Find the first broken stage and debug that stage directly.
FAQ
When should I use this guide?
Use it when you can reproduce the error and need a practical order for checking commands, versions, paths, permissions, and logs.
What should beginners verify first?
Start with the exact error message, the command you ran, the operating system, and the tool version. These details usually narrow the cause faster than changing many settings at once.
Which keywords should I search next?
Search for “Gradle Build Failed: A Practical Debugging Checklist for Java Projects” together with the exact error text, version, operating system, and tool name used in your environment.


Leave a comment